Simple Steps to Stunning Interior Photography
-

-
20.09.2025
-
Tip
High-quality interior and real estate photos don’t always require expensive gear or years of photography training. With a tripod, your camera’s bracketing mode, and AI-driven HDR editing, it’s possible to create polished, professional results that make spaces look bright, inviting, and true to life.
Why These Techniques Work Together
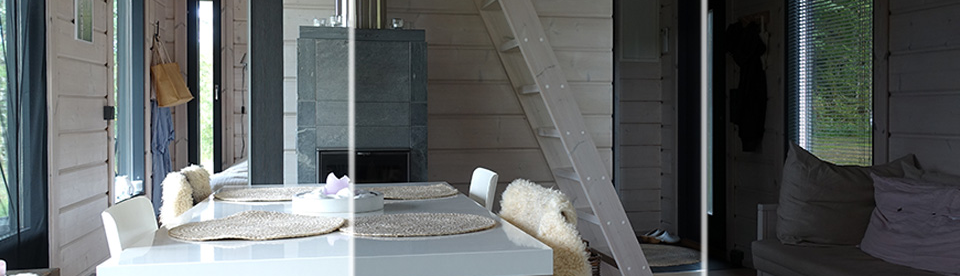
- Tripod – Keeps your camera steady, ensuring all bracketed exposures align perfectly.
- Exposure bracketing – Captures the full range of light by shooting multiple versions of the same scene at different brightness levels.
- AI HDR combining – Merges your bracketed shots intelligently, balancing highlights and shadows while preserving natural colors and details.
This workflow ensures every corner of a room looks crisp — bright windows no longer blow out, and darker areas aren’t lost in shadow.
Step 1: Set Up with a Tripod
A tripod is essential to keep your bracketed exposures perfectly aligned. Place the camera at about chest height and level it to maintain the most natural perspective possible.
Step 2: Use Exposure Bracketing
Most cameras and even smartphones offer Auto Exposure Bracketing (AEB).
- Choose 3–5 exposures (for example: –2 EV, 0 EV, +2 EV).
- This way, you’ll capture details in both bright highlights and dark shadows.
- Always keep ISO low for clean results.
If your camera doesn’t support AEB, you can still bracket manually: simply take multiple photos of the same scene, adjusting the exposure up and down between shots while keeping the camera steady on a tripod.
Step 3: AI-Driven HDR Combining
Traditional HDR software required lots of manual tweaking, but modern AI photo editing simplifies the process:
- Upload your bracketed images.
- AI aligns and merges them automatically.
- The result is a single photo with natural contrast, balanced tones, and professional polish.
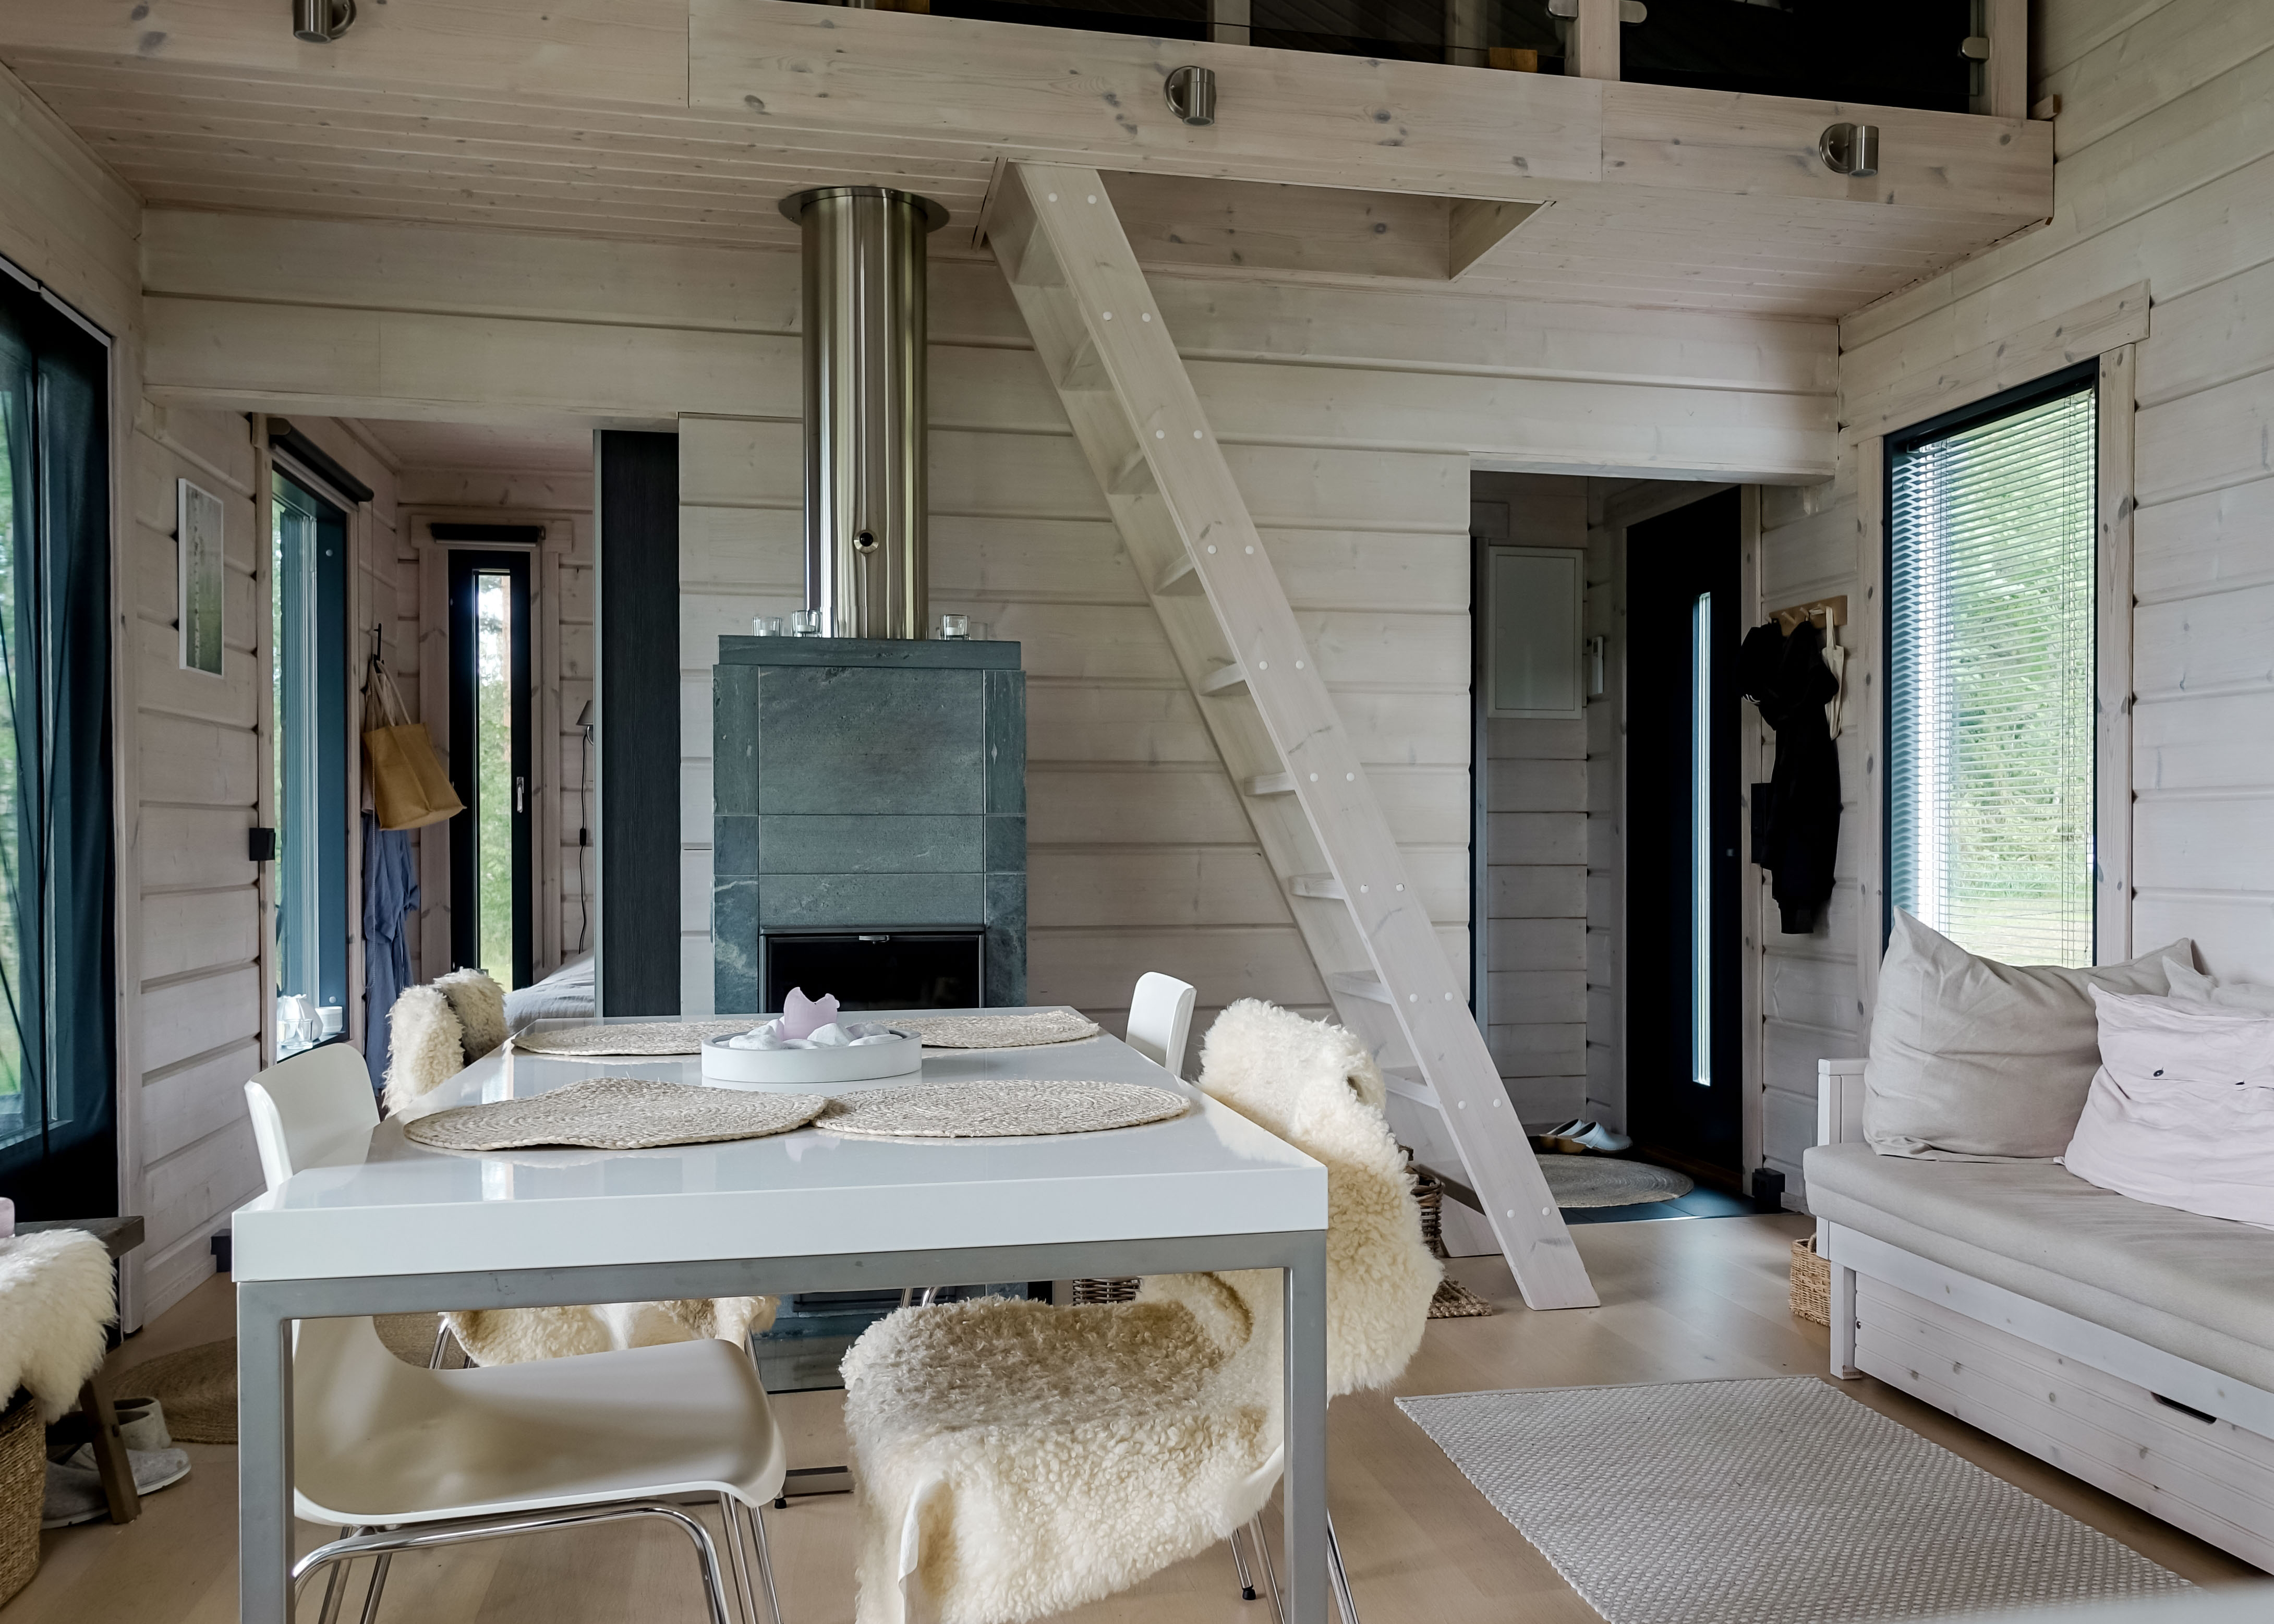
This removes the flat, unrealistic “HDR look” of old methods — instead, AI creates natural, market-ready real estate images in minutes.
Final Thoughts
With just a tripod, your camera’s bracketing mode, and AI HDR software, you can produce images that rival professional real estate photography. This simple workflow helps homeowners, real estate agents, and even hobbyists showcase interiors in the best light — literally.
For faster, more consistent results, you can also outsource your real estate photo editing to professionals. At Maskmill.com, we combine traditional retouching and AI-powered image editing to deliver high-quality, reliable results with a quick turnaround.